


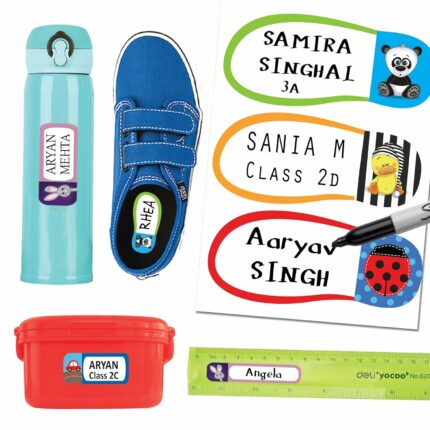
FOR PEEL & STICK LABEL
1. Peel and stick the Label to a flat, clean, dry surface. When applying the Label, press firmly.
2. Make sure to smooth over the Label to press out any wrinkles or air bubbles.
3. Press down firmly at all the edges of the Label as well.
4. Wait 24 hrs before washing the item. This will give the adhesive enough time to bond.
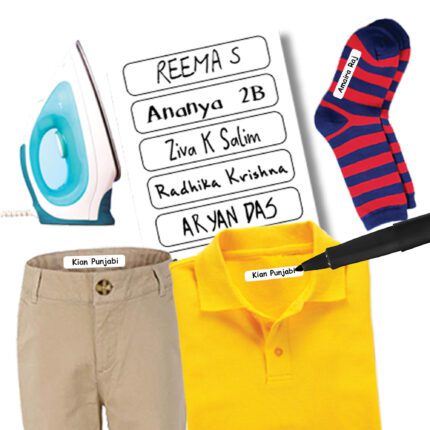
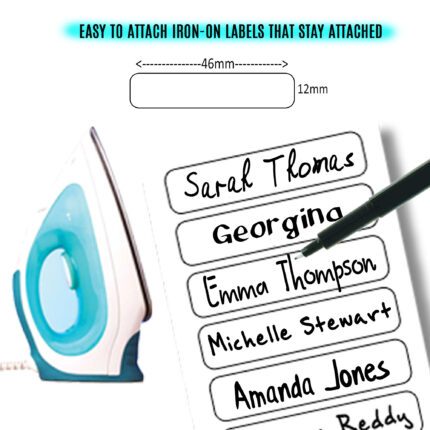
FOR IRON-ON CLOTHING LABELS (These instructions are also printed on the back your Clothing Labels)
1. Set iron to “dry” mode, Temp 130-170 deg C (266-338 deg F). This should usually be the Middle or Wool setting, but do check your individual iron model for more info.
2. Peel the Label from the sheet, and holding the iron flat, press the Clothing Label in place for 10-15 seconds. DO NOT move the iron around.
3. Allow the garment to cool down.
4. Repeat steps 2 and 3 again. Total of 3 pressing and cooling routines.
5. Use a thin pressing cloth on delicate fabrics.
CAUTION: Iron-on Clothing Labels should be applied by an adult.
FOR BAG TAGS
1. Insert the provided lanyard into the slot on the Bag Tag.
2. Loop the other end of the laynard around the Bag Tag and tie a firm knot to secure it to the Tag.
3. Next, insert the open end of the lanyard on to zipper or handle of the item that the Tag is to be affixed on.
4. Again, loop it around the Bag Tag and tie a firm knot to affix the Bag Tag to the item.
CAUTION: Bag Tags should be affixed by an adult.